Mac in Search document
How to Test a Time Machine Backup by Restoring One File
A recent Time Machine backup date does not prove that you can retrieve a file. A small restore test checks whether a known file is present in a completed…
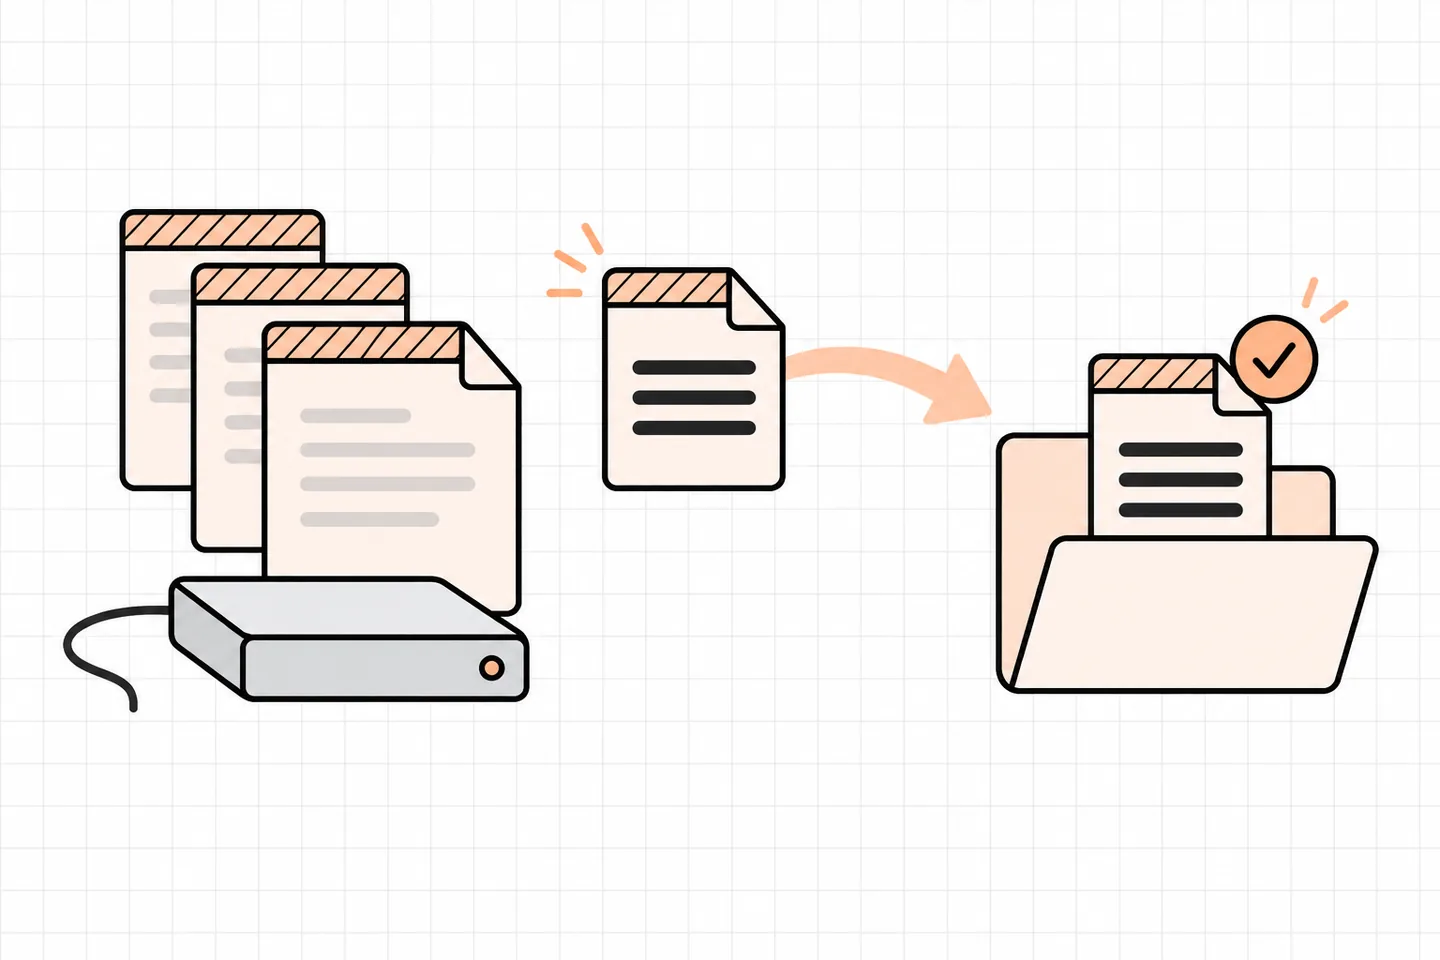
A recent Time Machine backup date does not prove that you can retrieve a file. A small restore test checks whether a known file is present in a completed backup, returns to its original folder and opens correctly. Use a disposable file so the test does not put important work at risk.
Check the backup destination
Open System Settings > General > Time Machine and confirm that the disk you intend to test is listed. Apple’s Time Machine settings guide covers backup disks and exclusions. Connect an external drive, or check that your Mac can reach the network destination, before starting. Note the most recent completed backup and any unfinished or failed backup shown in settings.
The completed backup must be later than the creation of your test file. A backup made before your test file cannot contain that file. Its date is only a checkpoint: you still need to find and open the restored file.
If you use more than one backup disk, write down which one you are testing before opening the history. A successful restore from one destination says nothing about the other. For a portable drive, check that it is connected throughout the exercise rather than relying on a backup date you saw while it was disconnected.
If the separate backup disk is unavailable, wait until you can connect to it. Time Machine may also keep local snapshots on the Mac’s own disk. Retrieving a file from one of those snapshots can be useful, but it does not test whether your external or network destination is accessible. In Time Machine settings, check Options for excluded folders. Choose a test folder you expect the backup to include; there is no need to change exclusions for this exercise.
Prepare a disposable file
Create a clearly named folder in your home directory, such as “Time Machine Restore Test”. Save a plain text file there containing a unique sentence and the date. Avoid passwords, personal records and files that an app may change in the background. A distinctive name and sentence will help you recognise the right file and version in the backup history.
Wait for Time Machine to complete a backup after you create the file. If necessary, start a backup manually and wait for it to finish. Check its completion time before proceeding. The next step, locating the file in that backup, establishes whether the chosen backup includes it.
Keep the test file in its original folder until that backup completes. Moving or renaming it during the backup would make it harder to tell which path and version you expect to recover. Write down the exact folder name if you think you may have trouble finding it in Time Machine’s Finder view.
Copy the test file to another temporary folder on the Mac. Open that copy and confirm that the sentence is intact. Then remove only the original from the test folder. You now have an empty original location for the restore and a spare copy for comparison. Do not use a document whose loss would matter. If you test an existing noncritical file instead, make and check a separate copy first.
Restore one file
In Finder, open the folder where the test file originally lived. Leave that window open, even though the file is now absent.
Open Time Machine using Spotlight or its control on your Mac. Allow it time to connect to the intended backup destination.
Browse to a completed backup made after you created the test file. In Time Machine’s Finder view, locate the file in its original folder. Check its name and the backup date.
Select that file and click Restore. Wait for the operation to finish, then return to the original folder in Finder.
Apple’s instructions for restoring individual Time Machine items describe this process and say that restored items return to their original location. If the backup history is still loading, let it finish before deciding the file is missing.
Find the restored file in the test folder, open it and compare its sentence with the spare copy. Confirm both its contents and its location. Clicking Restore alone is not proof that the right file came back. If the comparison succeeds, record the backup date and the destination you used. That note gives you a precise account of what worked. You can then remove the disposable files if you no longer need them.
If the file reappears but will not open, or its contents differ from the spare copy, record that as an incomplete test. Check whether you selected an earlier version or a similarly named file. Do not repeat the restore over a document you value while investigating; the disposable folder lets you try another backup date without changing real work.
If the file is missing or restoration fails
Check the backup date against the file’s creation time. Make sure you are viewing its original folder, the intended backup destination and a folder that is not excluded. A missing file in one selected backup does not show that every backup is unusable. Look at the relevant history before drawing that conclusion.
If Time Machine cannot reach the destination or complete the restore, check the connection. For a directly attached drive, Apple recommends connecting it to the Mac rather than through a hub when troubleshooting. For a network backup, check that the Mac and destination are reachable on the network. Apple’s backup and restore troubleshooting guide also discusses available space, connection problems and disk repair.
Preserve the existing backup while you investigate, particularly if it might hold your only copies of older files. Do not erase or reconfigure a backup disk just because this test encountered an error. If the destination is inaccessible, resolve that issue before treating anything shown in local backup history as evidence about the separate disk.
If a backup date is visible but the test file is not, return to the timing and exclusion checks before attempting repairs. The file may have been created after that backup, placed in a different folder or excluded with its parent folder. These possibilities call for different fixes, and the spare copy means you can start another clean test after identifying the cause.
Understand what the result shows
A successful test shows that, on this occasion, Time Machine could reach the selected backup, find this file, return it to its original folder and provide a copy you could open. It gives you practice with the recovery steps. It does not establish that every folder was included or that every older backup and file remains readable.
The test also does not cover recovering all accounts, apps, settings and data on another Mac. That is a larger exercise with different decisions about available storage and which data to restore. Keep the result specific to the file and backup you tested rather than treating one success as a complete recovery check.
Check which system actually supplied the file. Apple presents Time Machine backups and iCloud file storage as separate options. Finding a file in iCloud does not demonstrate that it exists on your Time Machine destination. Likewise, a local snapshot does not show that an external drive will be available if the Mac’s internal storage fails.
Repeat the small test after changing a backup disk, moving important files into a new folder or changing exclusions. Use a fresh disposable file and a completed backup on the destination you rely on. Keep each result tied to the particular backup and file you restored.