Mac in Search document
How to Assess an Early Personal Computer

By Iris Chen
An early single-board computer is best understood as a historical electronic system, not as a smaller version of a modern desktop. It may have an exposed…
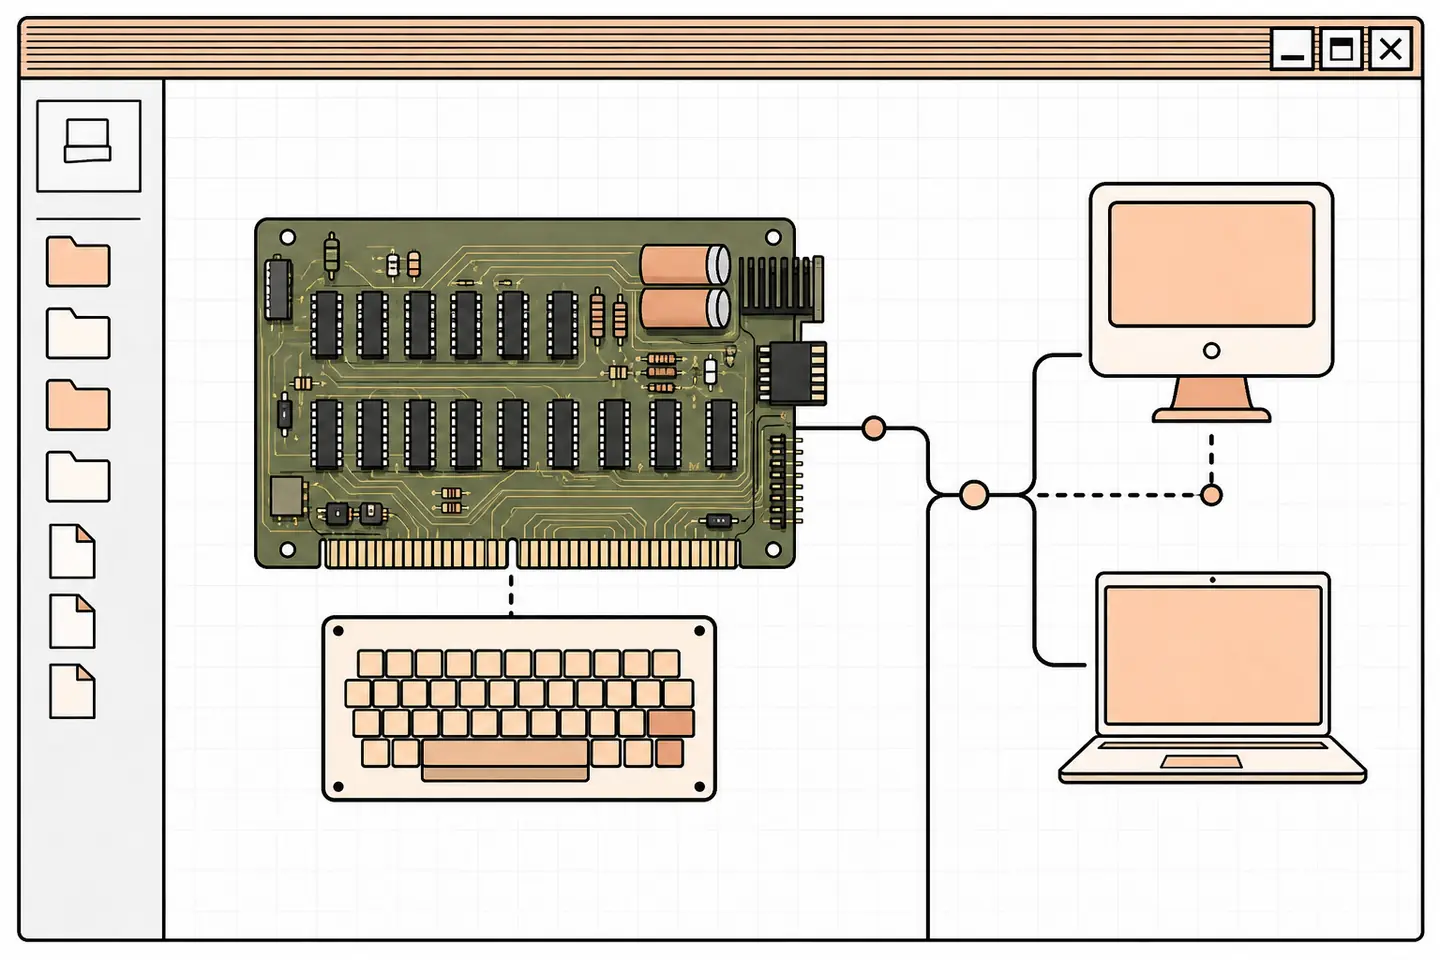
An early single-board computer is best understood as a historical electronic system, not as a smaller version of a modern desktop. It may have an exposed circuit board, limited memory, a text-only display and no built-in storage. Making one work can require a suitable power supply, keyboard, display interface and period-appropriate software.
This guide explains how to identify, inspect and use such a machine without putting rare components at unnecessary risk. It also sets realistic expectations for anyone considering a purchase, restoration or demonstration.
Start with identity and provenance
Establish exactly what is present before connecting power. Record the board markings, component labels, connector types, modifications and accompanying accessories. Photograph both sides of the board in even light. Include close views of sockets, solder joints, edge connectors and any handwritten labels, but do not remove chips merely to obtain a clearer image.
Provenance matters because an original board, a later reproduction and a modern replica can look similar in an online listing. Useful records include dated photographs, sales receipts, correspondence, repair notes and a documented chain of ownership. None proves authenticity alone. Compare several details and ask a specialist when the history is incomplete.
Museum and reference records provide useful points of comparison. The National Museum of American History’s Apple I record shows how one preserved example is described, while the statement that the Apple I was Apple’s first computer offers a concise chronology. Treat photographs as orientation rather than proof: component substitutions and repairs may be legitimate, and reproductions can copy visible markings.
Understand what the board needs
A bare-board computer usually does not include everything required for operation. The processor, memory and display circuitry may be on the board, while power conversion, a keyboard, a screen and program storage remain external. Never assume that a connector follows a modern standard simply because a plug fits.
Begin with documentation for the exact board revision. Identify required voltages, polarity, current capacity and grounding. Confirm whether voltage regulation occurs on the board or in the external supply. A supply with the wrong voltage or reversed polarity can destroy irreplaceable components before any visible warning appears.
Memory capacity also shapes what the machine can do. A few kilobytes may be enough for a monitor program, short interpreted programs or compact machine code, but not for modern operating systems. Expansion may require compatible memory chips, address decoding and configuration changes. Do not populate empty sockets until their purpose is confirmed.
Video output may be text only and may expect an older display signal. A modern screen might need an active converter rather than a passive cable. Likewise, a keyboard connection may expect parallel electrical signals from an ASCII keyboard, not data from a current USB device. Use a tested interface designed for the relevant electrical levels.
Inspect before the first power-on
Visual inspection is the safest first test. Look for corrosion, cracked components, darkened board areas, leaking capacitors, bent pins, damaged traces and debris bridging contacts. Check that socketed chips are seated in the correct orientation. Compare every modification with earlier photographs or repair records before deciding it is wrong.
Clean only when necessary and use methods suitable for vintage electronics. A soft brush can remove loose dust. More invasive cleaning may disturb labels, residues or fragile repairs that help document the object’s history. Avoid household sprays, abrasives and metal tools around traces.
Before applying power, a competent technician should check the supply separately, test for shorts on each power rail and verify continuity from the connector to the relevant circuitry. A current-limited bench supply can reduce the consequences of a fault, but it does not replace a correct schematic and measured voltage checks.
During a first start, monitor current draw and component temperature. Switch off immediately if current rises unexpectedly, a component becomes hot, the display becomes unstable, or there is smoke or a burning smell. Repeatedly cycling power is not a diagnostic method; it can turn a minor fault into permanent damage.
Plan a controlled demonstration
A successful demonstration should be simple, repeatable and documented. First confirm that the monitor program starts and that the keyboard produces the expected characters. Then test a small known-good routine that writes to memory and produces an obvious result. Change one variable at a time so that a failed test has a limited set of possible causes.
Period software often arrives through cassette audio or a modern storage emulator designed to reproduce the same signal. Loading can fail because of cable faults, poor recordings, incorrect audio level, wrong load addresses or insufficient memory. Record the working cable arrangement, volume setting, memory configuration and command sequence.
Keep demonstrations short when the board’s condition is uncertain. Provide ventilation, keep conductive objects away from the exposed circuitry and place the machine on a stable, non-conductive surface. Visitors should interact through the keyboard rather than touch the board. The operator should remain close enough to disconnect power quickly.
Preserve software and documentation
Original tapes, printed manuals and handwritten program listings are part of the system’s history. Store paper and magnetic media in a cool, dry and stable environment, away from direct sunlight, moisture, dust and strong magnetic fields. Use clean enclosures and label them without writing directly on original material.
Create working copies for routine loading and keep the originals unused where possible. For each digital capture, record the source, equipment, settings, date and any errors. Retain the unedited capture as well as any cleaned version. Checksums help show whether archived files have changed during transfer or storage.
Do not present unverified files as authentic period software. A clear catalogue can distinguish original media, owner-created programs, later conversions and modern demonstrations. That distinction makes the archive more useful to future researchers and prevents an accidental reconstruction from being mistaken for original evidence.
Judge a purchase carefully
Decide whether the goal is collecting, study, display or regular operation. An original object with strong provenance may be unsuitable for frequent use, while a faithful replica may provide a safer hands-on experience. Cosmetic condition matters less than authenticity and electrical stability for some buyers, but more for display purposes.
Ask the seller for current, high-resolution photographs rather than relying on catalogue images. Request a precise list of included parts and a description of repairs, replaced components and tests. “Working” should mean that the seller can state what was connected, which program ran and when the test occurred. A display pattern alone does not prove that memory, keyboard input and storage interfaces work.
Do not infer value from an asking price. Condition, provenance, originality, documentation and market timing all affect collectable equipment, and a public listing does not show the final sale price. An independent specialist can help assess a costly item, particularly when ownership history or board authenticity is disputed.
Plan for safe transport. The board should be protected from static electricity, bending, loose components and impact. Accessories and documents need separate supports so that they cannot strike the circuitry. Before accepting delivery, agree with the carrier and seller on suitable packing and evidence of condition.
Know when specialist help is needed
Seek component-level help for unstable power, corrosion, lifted traces, damaged sockets, recurring memory faults or an unknown modification. General computer repair experience may not cover early logic families, analogue video sections or preservation ethics. Ask how the technician will diagnose the fault, document changes and retain replaced parts.
A repair should be the least invasive action that restores safe, reliable operation. Record each replaced component, its original location and the reason for the change. Keep removed parts with the machine. Reversible work and clear documentation protect both historical understanding and future repair options.
Modern integrated computers follow different diagnostic and repair practices; the overview of Apple silicon Macs illustrates how far current architecture has moved from exposed single-board designs. Do not transfer current-device assumptions about power, memory, storage or connectivity to early hardware.
A practical ownership routine
- Maintain a dated inventory of the board, peripherals, media and documents.
- Inspect the system and verify the power supply before every extended demonstration.
- Use working copies of software and preserve original media separately.
- Record successful settings, failures, repairs and component substitutions.
- Store the system in a dry, stable environment with protection from static and impact.
The central principle is restraint. Identify first, measure second and power on only when the required interfaces and electrical conditions are understood. That approach makes an early computer more useful for study while reducing the chance that a brief demonstration causes lasting harm.