Mac in Search document
Early Home Computers: How They Worked and Where to Begin

By Iris Chen
An early home computer is easier to understand as a working system than as a list of specifications. Its keyboard, memory, display, storage and software…
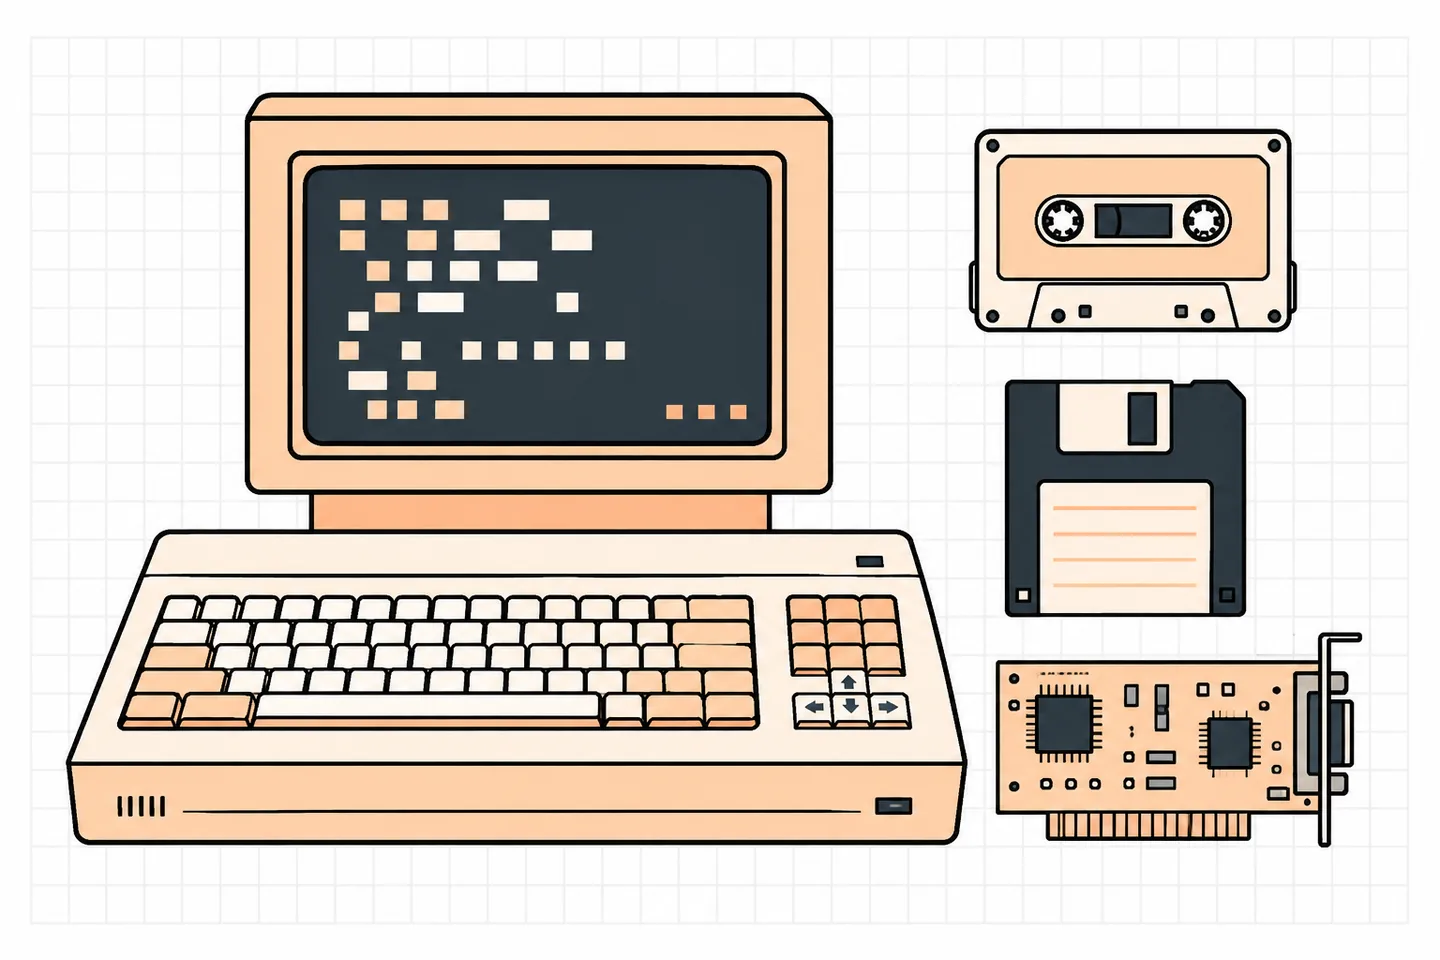
An early home computer is easier to understand as a working system than as a list of specifications. Its keyboard, memory, display, storage and software each shaped what a user could do. Exploring those connections explains both the appeal of these machines and the practical difficulties of using them.
Start by choosing a purpose: studying computing history, writing small programs, examining old software or restoring physical equipment. Each calls for different preparation. You can learn about programming through emulation without acquiring hardware, while restoration requires information about the exact machine and its condition.
Read the evidence in context
Historical material comes in several forms. Manuals explain intended operation; advertisements describe what a seller wanted buyers to notice; technical documents reveal implementation details. None should automatically stand in for the others. A promised capability in an advertisement does not establish how convenient it was in everyday use.
The Computer History Museum’s timeline offers a starting point for placing individual machines in chronological context. Use a timeline to organise further reading, then consult documentation for the configuration you want to understand. Avoid treating one machine as representative of every computer from its period.
Period advertising preserved in the Computer History Museum’s collection can help frame questions about programming, personal applications and entertainment. Read that language as historical evidence rather than as a neutral product review. Separate advertised uses from the equipment and software needed to achieve them.
Identify the whole system
A case label is a starting point, not a complete specification. Related models can differ in memory, built-in software, display output and expansion connections. An individual example may also contain upgrades or modifications. Instructions that suit a similar-looking machine may therefore be unsuitable for yours.
For physical hardware, record what you can observe safely before attempting operation. Photographs help preserve details that are easy to overlook when following a manual later. Keep uncertainty explicit: an unidentified card should remain unidentified until its markings and documentation support a match.
- Record the model designation and visible revision labels.
- List external ports, drives and attached peripherals.
- Note installed expansion hardware where it can be inspected safely.
- Match manuals to the model and revision, not merely the case shape.
- Separate confirmed specifications from assumptions about missing equipment.
A matching connector shape does not prove electrical compatibility. Establish the required interface and cable from documentation before attaching a display, drive or other peripheral. Do not test an uncertain connection by trying it and hoping that it works.
Understand memory before storage
Working memory holds the program and data being used. Storage retains a saved copy for later loading. Confusing the two can lead to lost work: a program visible on screen may exist only in memory, and switching off can discard changes that were never saved.
Small memory capacity makes program structure tangible. Text, variables and graphics may compete for limited space. Rather than comparing that capacity with a modern machine, watch what happens as a program grows. A short experiment can show why economical data representation and reusable routines mattered.
Use a simple saving routine from the beginning. Create a small program, save it under a clear name, then check that the saved copy loads correctly. Keep a separate record of commands and settings. This distinguishes a storage problem from a forgotten filename or an incorrect loading procedure.
Begin programming with one visible result
A command-driven environment offers a useful learning loop: type an instruction, observe the response and change one thing. Start with text output before graphics or sound. A program that prints a message, accepts a value and performs a calculation is enough to introduce input, variables and results.
Some interpreters distinguish immediate commands from stored program lines. Learn how your chosen environment makes that distinction, how to list a program and how to stop it. Otherwise, a correctly typed instruction may run immediately when you meant to save it as part of a sequence.
Build the first exercise in small steps:
- Display a short message and confirm that the command works.
- Store a value in a variable and print it.
- Ask for input and use it in a simple calculation.
- Add a loop with an obvious stopping condition.
- Save the program, reload it and repeat the same input.
When something fails, retain the error message and change only one element before rerunning. Avoid copying a long listing before testing its first few lines. Short checkpoints make typing errors and differences between language variants easier to isolate.
Treat disk access as a separate layer
A drive, its controller and the software that manages files perform different jobs. The drive handles the medium, the controller connects it to the computer, and file-management software provides commands for organising stored information. Having a drive attached does not establish that every disk can be read.
For a historical case study, consult the Computer History Museum’s account of Apple II DOS. When reading preserved technical material, distinguish file-management functions from the broader responsibilities associated with a modern operating system. Follow one operation, such as loading a file, through its separate steps.
Compatibility involves more than physical disk size. The recording format, file system and software requirements also matter. Before diagnosing a failed load as damaged media, confirm that the machine or emulator is configured for the expected format and that the image represents the intended disk.
Use emulation as a controlled experiment
An emulator can provide a way to explore a historical environment without depending on ageing electronics. Its configuration still matters. Choose the machine type, memory and storage settings deliberately, and record them alongside your notes. Changing several settings at once makes unexpected behaviour harder to explain.
Begin with a small, documented example rather than an unfamiliar collection of disk images. Confirm that the environment starts, accepts keyboard input and can save a working file. Learn which actions reset the simulated machine and which preserve its state before relying on either.
A saved emulator state and a file saved through the historical system are different things. Practise ordinary saving and loading even if snapshots are available. Keep experiments on copies, so a mistaken format or overwrite command does not alter your only preserved image.
Approach original hardware cautiously
Do not power an unfamiliar computer merely to see whether it starts. Age, storage conditions and previous repairs affect what inspection is needed. Visible damage, corrosion, loose parts or modified wiring are reasons to stop and seek qualified assessment.
Opening a power supply or display introduces hazards beyond ordinary computer use. Leave that work to someone qualified for the equipment. For your own records, document external condition, labels and accessories, then use the correct service information to determine the next appropriate step.
Keep a useful preservation record
Distinguish the original medium, an archival image and a working copy. Record where each file came from, its documented format and the configuration used to open it. Preserve accompanying manuals and notes: a file without context can be difficult to interpret even when its bytes remain intact.
Finish a first session with one reproducible result, such as a saved program that reloads successfully. Write down the commands, configuration and remaining questions. Those notes give the next session a clear starting point and make it easier to tell a new fault from a repeated mistake.